How to improve document scan quality
Practical fixes for blurry, dark, or skewed scans—lighting, camera technique, crop and enhance—so your PDFs look readable in PDF Scanner.
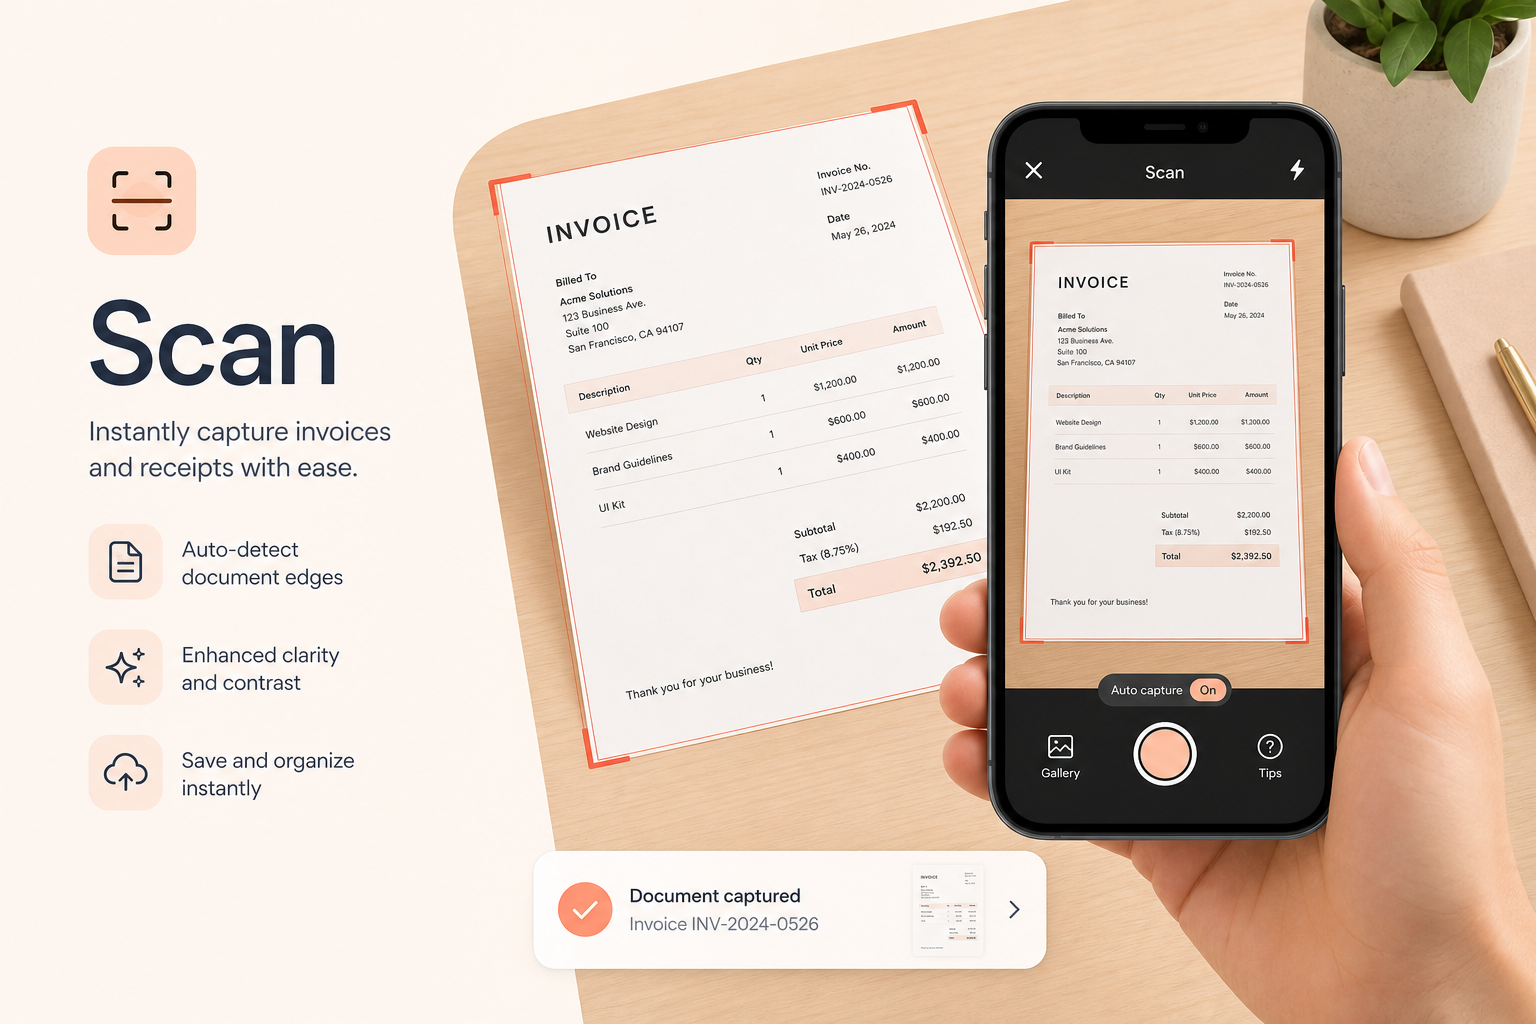
Why phone scans look soft or muddy
Most disappointing scans fail for physical reasons, not software mysteries. Motion blur, uneven light, glare, extreme angles, and dirty lenses turn sharp print into a gray mush. Filters can lift contrast, but they cannot invent detail that never hit the sensor.
People also crop too late. A page photographed from far away wastes resolution on tabletop and shoes. Filling the frame with the sheet—while keeping all four corners—gives crop and enhance more real pixels to work with.
PDF Scanner gives you capture, crop, and enhance in the browser so you can fix what is fixable on-device. Your files never leave your device during that processing. The biggest gains still come from how you shoot the first frame.
Lighting checklist before you tap capture
Use one main light when you can. A single overhead lamp or bright shade-free room light beats a bright window behind the page (backlight) plus a dim face of the paper. Backlight makes the camera expose for the window and underexpose the text.
Move glare off the page instead of hoping enhance will erase it. Tilt the paper slightly, shift your body, or reposition the lamp until specular highlights leave the paragraphs you need. Glossy reports and photo paper are the worst offenders.
Night scans need more light than your eyes suggest. Phone night modes may brighten the preview while smearing small text if you move. Add a lamp and keep exposure times short by holding steady.
- Avoid strong backlight from windows behind the page
- Prefer even overhead or side light over mixed color temperatures
- Kill glare before capture—especially on glossy stock
- Add a lamp at night instead of relying on noisy night mode
Camera technique: sharpness you can repeat
Hold the phone with both hands or brace your elbows. Tap to focus on a line of text, not the blank margin. Wait a beat for focus to lock, then capture. If the preview breathes in and out, the camera is hunting—move slightly or add contrast under the page.
Keep the phone parallel to the paper so rectangles stay rectangular. Strong perspective makes lines converge and shrink text on the far edge. Parallel framing also makes multi-page PDFs look consistent.
Do not use digital zoom. Walk closer. Clean the lens. Disable heavy beauty or HDR modes that soften edges if your camera app applies them to document shots. Retake anytime the text looks soft at 100% zoom in preview—enhancement will not restore lost edges.
Crop and enhance inside PDF Scanner
After capture, crop away everything that is not the page: table grain, shadows, fingers, and neighboring papers. A tight crop improves perceived quality immediately and helps later OCR focus on characters.
Use enhance when the page looks uniformly gray or yellowed and the ink needs separation from the paper. If only one corner is dark, fix lighting and retake; a global enhance can crush already-dark regions.
Work page by page on mixed packs. One perfect enhance setting rarely fits a bright laser page and a faint carbon copy in the same file. Consistency of capture lighting reduces how often you need different treatment per page.
- Crop first, enhance second
- Enhance for global low contrast—not to hide blur
- Retake locally dark or blown-out regions
- Keep margins consistent across multi-page PDFs
Multi-page sets and small documents
For contracts and homework, match distance and orientation on every page so the PDF does not alternate between huge and tiny text. Scan in order. Check the thumbnail strip before download so you catch a blank or finger-covered page early.
IDs and receipts need closer framing and extra light. Small text on plastic cards catches glare easily—micro-adjust the angle. Thermal receipts fade; quality starts with scanning before the ink disappears.
If you must combine older Gallery photos, discard the worst duplicates first. One sharp page beats three soft ones “just in case.” Order pages, crop each, then export a single PDF.
Quality goals for sharing and OCR
Ask what “good enough” means. For emailing a signed form, readable at 100% on a laptop is the bar. For OCR and long archives, aim higher: crisp character edges, strong contrast, minimal skew. Searchable PDFs inherit the strengths and weaknesses of the scan.
Before you send, open the PDF and skim every page. Rotate any upside-down sheets. Confirm signatures and fine print survived crop. That thirty-second review prevents resend loops.
Because PDF Scanner processes locally, you can iterate—retake, crop, enhance—without uploading drafts to a server. When the file finally looks right, download once and share intentionally.
Frequently asked questions
Why is my document scan blurry?
Usually motion, missed focus, low light, or digital zoom. Brace the phone, tap to focus on text, add light, move closer without zooming, and retake. Soft originals rarely become sharp with filters alone.
Should I always use enhance?
Use enhance when contrast is weak and text looks gray. Skip it when the page is already crisp, or when enhance makes dark photos look crushed. Crop carefully first either way.
How do I reduce glare on glossy paper?
Change the angle of the page or the light so reflections miss the text. Avoid pointing a flash straight down. A slight tilt is better than a white hotspot over a paragraph.
Does improving scans in PDF Scanner upload my files?
No. Capture, crop, enhance, and PDF creation run in your browser on-device. Your files never leave your device for those steps.